
The site where I used to have this tutorial recently went down... So I hunted to find my copy of the original to post here for you! I hope you enjoy!
Ink is for more than just paper and altered arts. Did you know that you can also use your inks to create custom colored polymer clay?
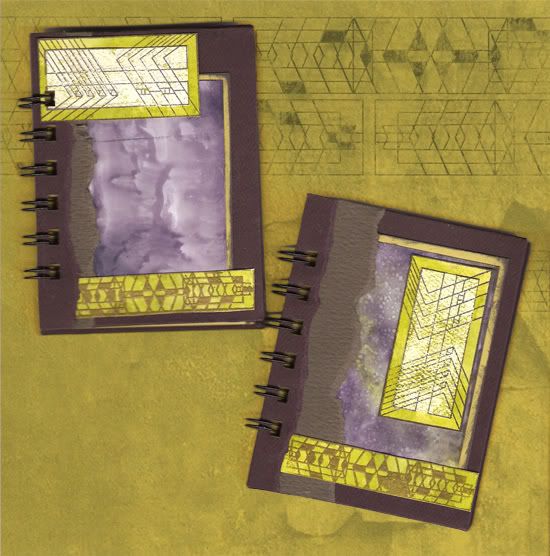
Design Originals has a great book, Clay Techniques to "DYE" for, which teaches you all kinds of ways to use Ranger inks and embossing powders to color your clay, along with over 20 projects. I took inspiration from their coloring techniques to create my own clay blend… which I then used to create a series of tube beads, a pendant, and a six-holed focal spacing bead for a bracelet modeled after Heather Powers Cuff Bracelet from Bead & Button: Beading Basics Essential Techniques and https://www.humblebeads.com/blog/throw-back-thursday-bead-edition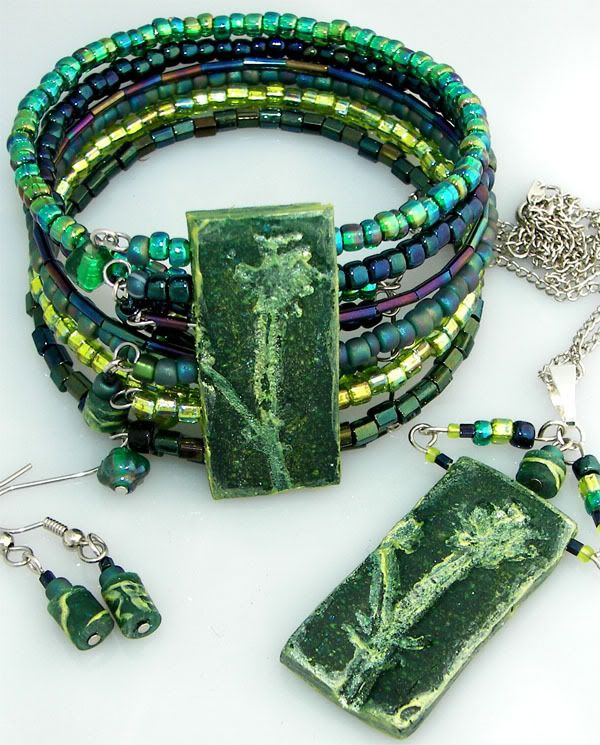
UTEE is wonderful for tinting your clay to a small degree while embedding grit and variability into the piece. Translucent clay will allow the differing levels of color shine through. To tint clay with UTEE, first condition your clay by running it through your clay machine at the thickest setting until it is pliable. Pinch your clay into a pocket and add no more than 2 teaspoons per full bar of clay. Seal the pocket and run it through your clay machine, folding between each run, until the UTEE is evenly dispersed.
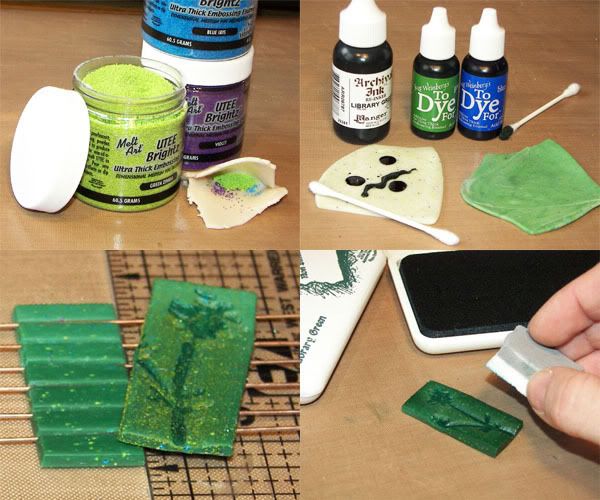
Even with UTEE Brightz, the clay will still be light in color when you cure it. So, at this point, you may wish to add dyes to the clay to give it a deeper color. Be sure to put on some gloves for this part because the liquid ink can get messy! Take your conditioned clay and add some drops of Archival Reinkers or To Dye For to the surface of your sheet. Spread it out with a Q-Tip and fold the clay over, keeping the inked surface covered. Run it through the clay machine, at the thickest setting, folding between runs until the color is even.
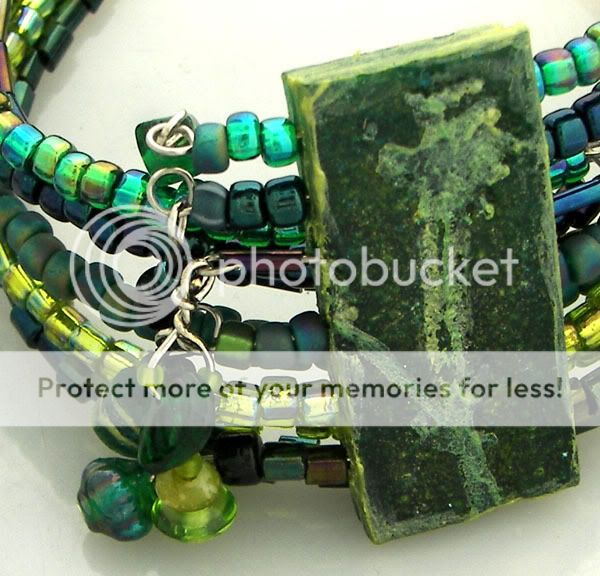
You may opt to create a faded sheet of clay by merging two colors, or go with just one. Mold your clay as you wish and then you can also color the surface of your piece by stamping on it, pressing additional embossing powders into it, using Adirondack Pigment Pens and Adirondack Dimensional Pearls paints, using Cut n' Dry Foam to apply more Archival Ink, etc. If you have too much clay left over, you may save it or use it to make a series of small beads. Cure according to the instructions on your clay package and marvel over your finished work!
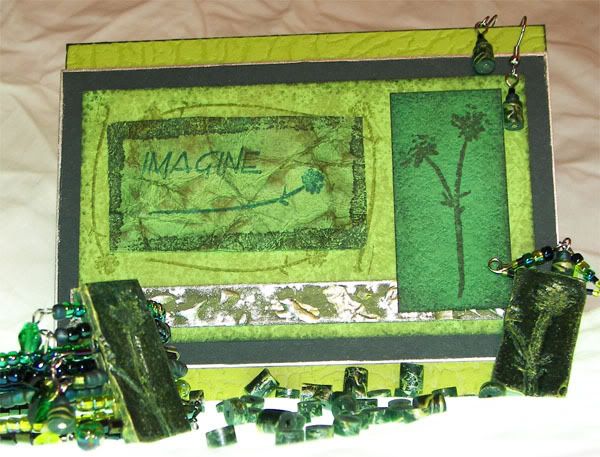
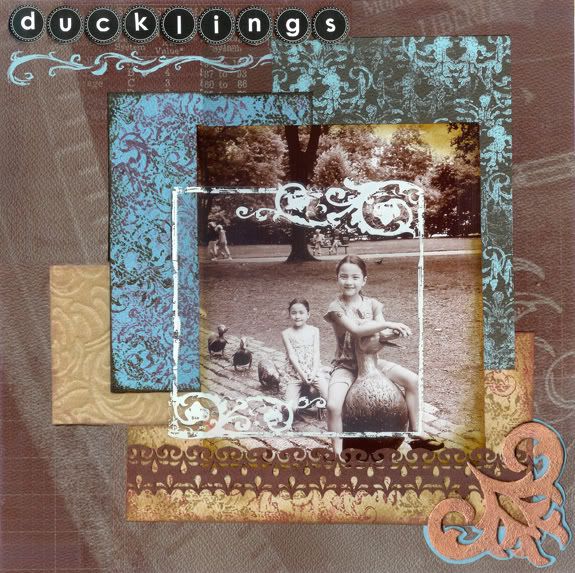
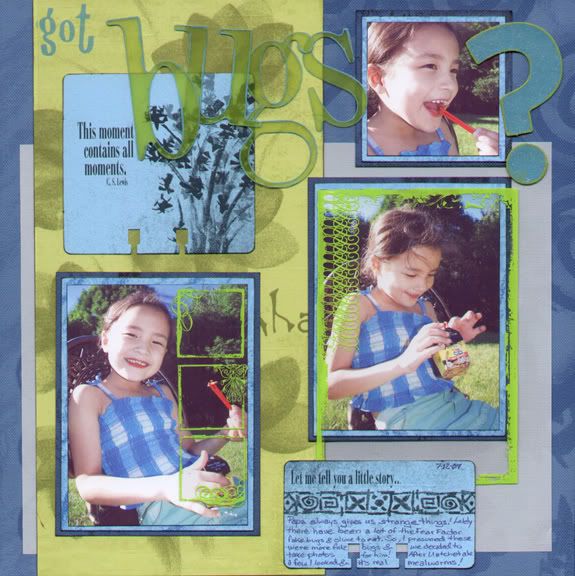
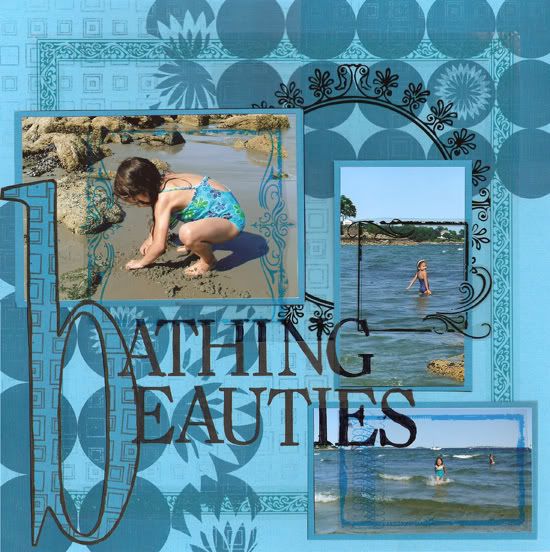
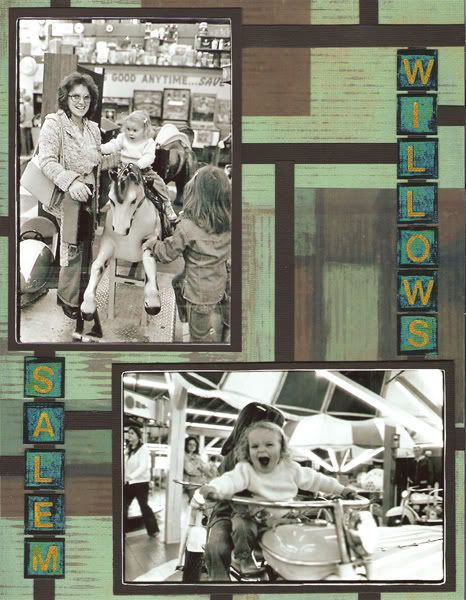
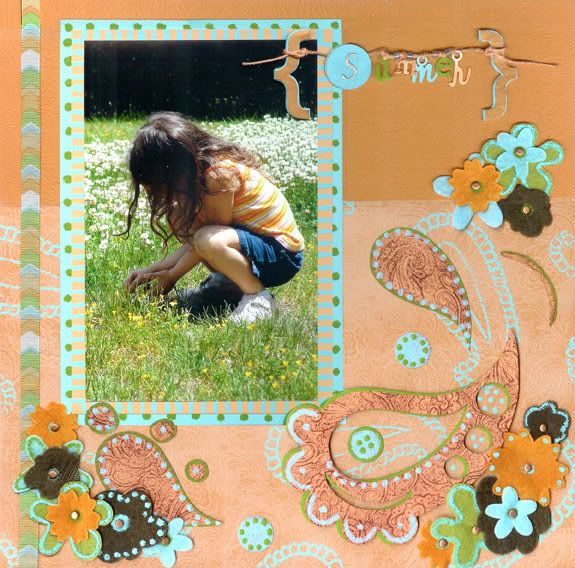
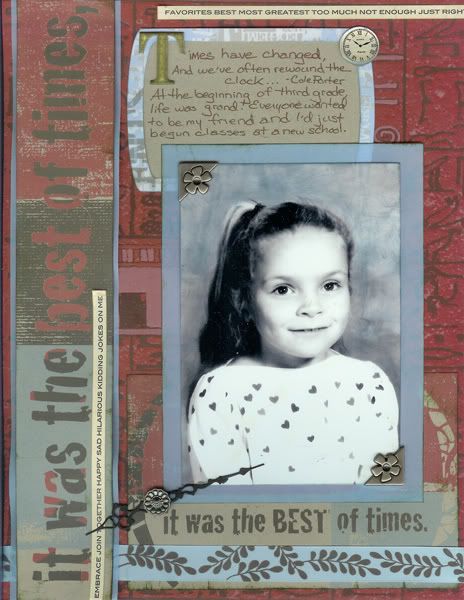
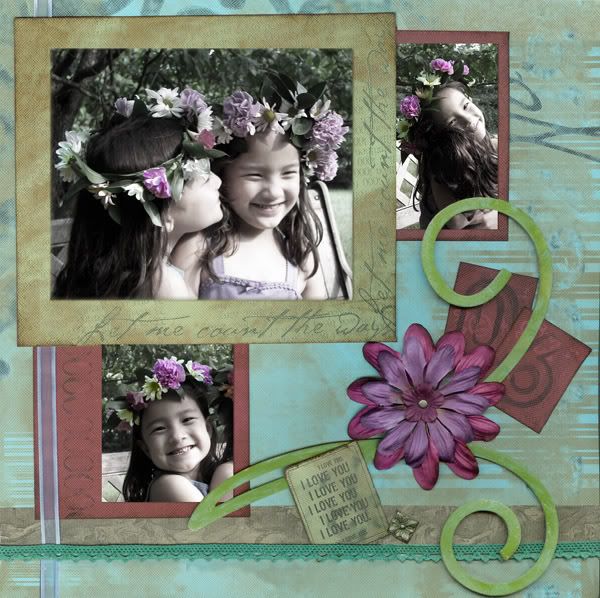
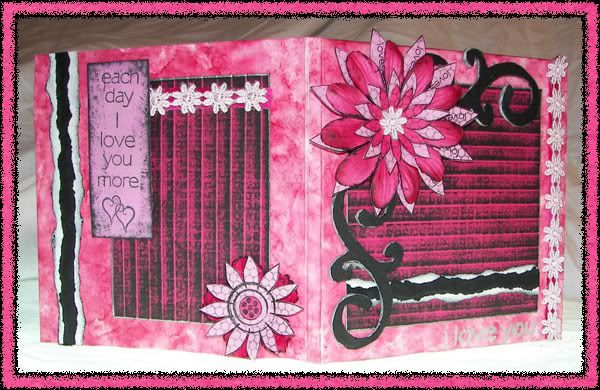
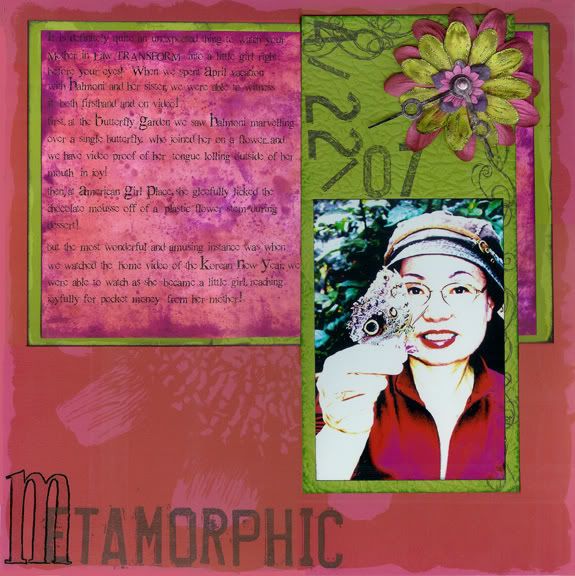
One wonderful thing about using your inks, powders, and stamps to create clay pieces is that you can create gift cards or scrapbook pages with the same materials for a wonderfully coordinating set!
Supplies used on jewelry pieces:
- Amaco: Bead Baking Rack; Bead Making Tool Set; Polymer Clay & Craft Oven;
- Bead & Button: Beading Basics Essential Techniques;
- Beadalon: 10mm Silver Plated Medium Bale;
- Blue Moon: Memory Wire Bracelets;
- Club Scrap: 2/07 Refresh Beads; 8/06 Wheel & Sprocket Beads; 1/06 Framed Beads; 5/03 Aromatherapy Borders & Backgrounds Unmounted Stamps;
- Darice: 2" Nickel Plated Head Pins;
- Design Originals: Clay Techniques to DYE for;
- Fire Mountain Gems: 4.5mm Silver Plated Jump Ring; Surgical Steel Fish Hook Ball/Coil Earwire;
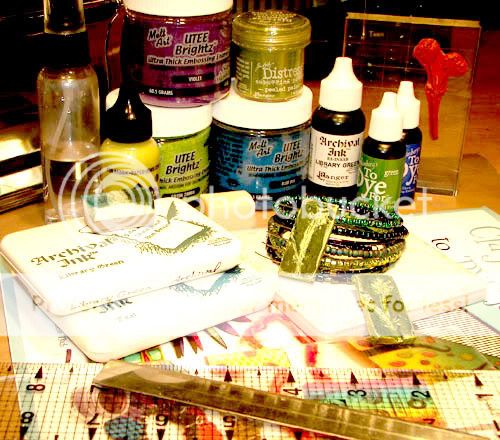
- Ranger: Adirondack Dimensional Pearls in Lettuce; Archival Ink Pads in Library Green & Teal; Archival Reinker in Library Green; Cut n' Dry Foam; Distress Embossing Powder in Peeled Paint; To DYE For in Blue & Green; UTEE Brightz in Blue Iris, Green Zinnia, & Violet;
- Sculpey: Translucent Polymer Clay;
Supplies used on card:
- Club Scrap: 2/07 Refresh Dark Green & Light Green plus Water Mister; 10/06 Farmer's Market Green; 5/06 Painted Desert Stem; 3/04 Culinary Green; 5/03 Aromatherapy Borders & Backgrounds Unmounted Stamps;
- Krylon: Silver Leafing Pen;
- Ranger: Adirondack Alcohol Ink Metallic Mixatives in Silver; Adirondack Dimensional Pearls in Lettuce; Archival Ink Pads in Library Green & Teal; Cut n' Dry Foam; Distress Ink Pads in Peeled Paint & Shabby Shutters;


1 comment:
I love to add inks and embossing powders to polymer clay. There are really so many cool looks you can get by combining them in different ways, including faux stones. The UTEE Brights come in fantastic colors! Will have to get me some of those!
Post a Comment