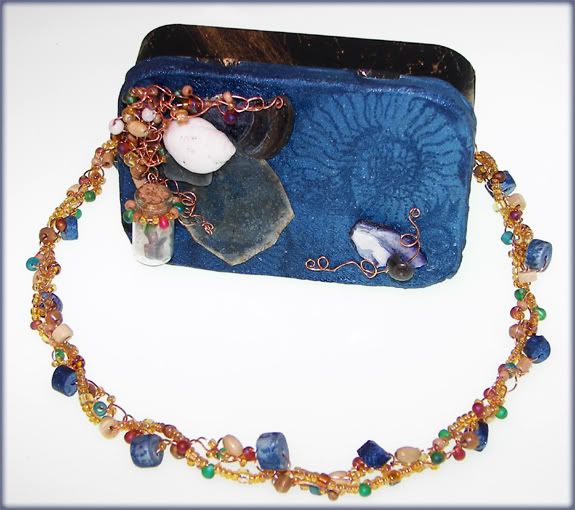
I've been really enjoying beading lately and wanted to throw more scrapping supplies into the mix! What better way than to add stamped polyclay beads and an altered tin to present a gift of jewelry in? This gift does just that while also bringing in a seasonal beach theme to my poor Caribbean friend who is living here in New England now and suffering through our winter!
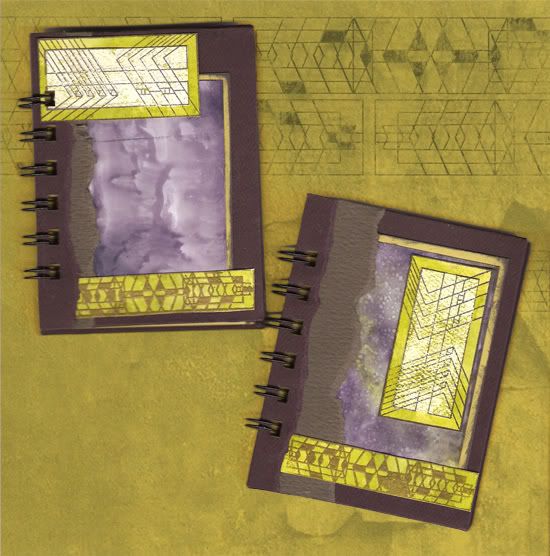
I created my own faded sheet of Sculpey III Clay ranging from light to dark shimmering blue, with a little bit of Ranger Adirondack Denim Embossing Powder added to it for grittiness and shimmer! After it was rolled out, I also used the Club Scrap Fossils 08/04 Nautilus Collage Stamp with Ranger Cobalt Archival Ink before curing the clay on my Altoid lid! I also spray painted the bottom of the Altoid tin and used some spray on webbing on top of the base color!
I decorated the cover of the tin with an uneven corner piece made from beaded wire that I crocheted along with some locally found seashells and sea glass as well as the Club Scrap Fossils 8/04 Artquest Mica plus Club Scrap Surf's Up! 7/06 Drilled Shell and Glass Bottle filled with my own shells, sea glass, and a few of the beads used in the project.
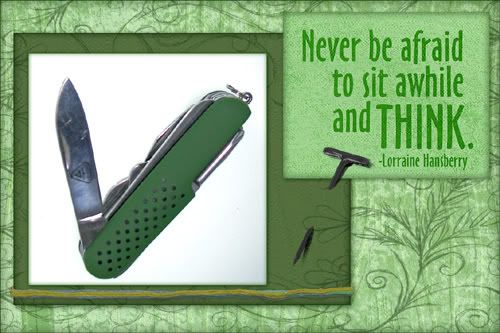
 I used the left-over clay from my box to create 7mm Tube Beads with the Amaco Tube Bead Roller Set #1. I then rolled the uncured clay tube across the same inked Nautilus Collage Stamp and proceeded to sure the beads. I made rough cuts with my blade in order to keep the look and feel more rustic... if you wait til the clay is partially cooled, the randomness will occur more naturally!
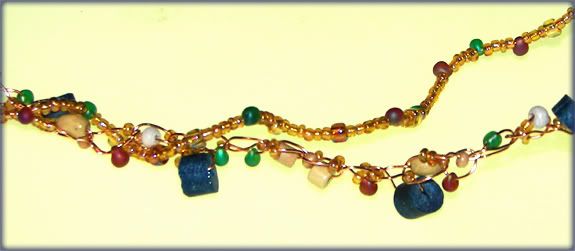
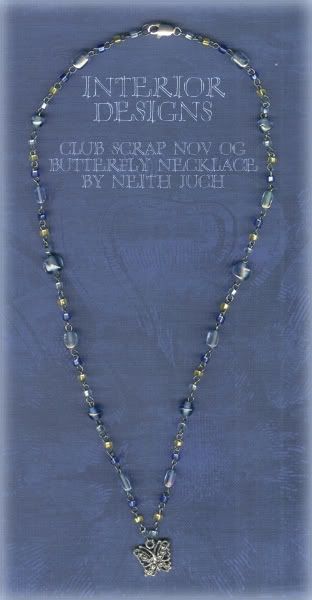
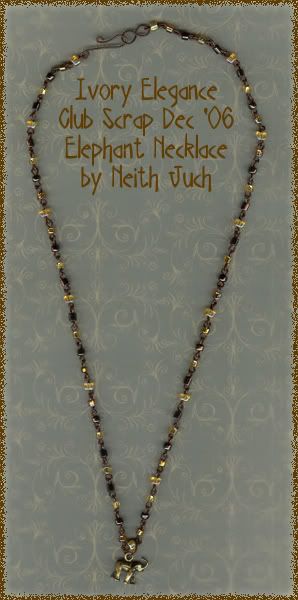
On my friend's necklace, I used Club Scrap's Collections 6/06 Embellishment Pack Beads with approximately 2 2/3 yards of 24 gauge copper wire (Hirschberg, Schutz & Co) my handmade clay beads, and some translucent gold seed beads that I crocheted together into a single chain with a USF5/3.75mm crochet hook. The end strand measured about 21-22" long. I also took a matching length strand of the non-clay beads that were simply added to a length of the same wire, and then I twisted them together before adding a handmade 1.5" copper wire clasp and eye hook. The end result is a 19.5-20" necklace!
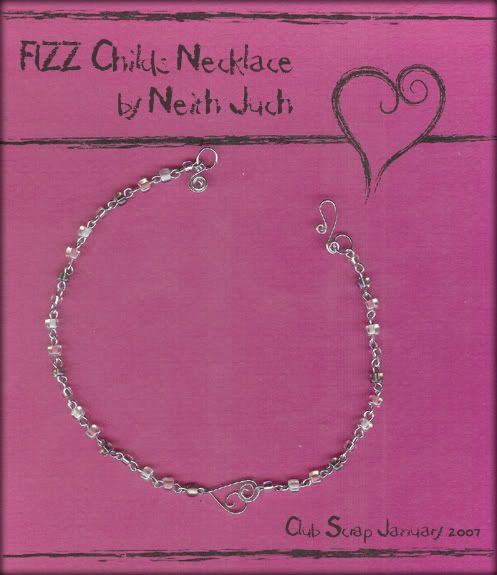
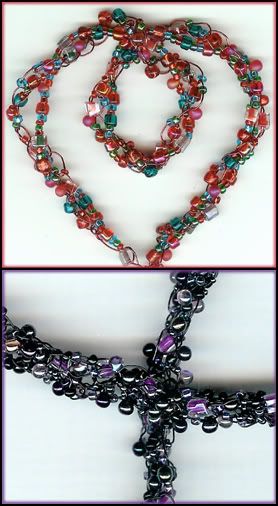
Of course, my daughters were jealous! So I needed to make a necklace for them! The top piece to the left is an unfinished and not fully twisted necklace that I made with some of the remaining Collections 6/06 Embellishment Pack Beads, Red 20 gauge Darice Craft Wire, red E beads, and some red, teal, and light blue seed beads.
And, could I be left out of the mix? No! I made myself the lower necklace, to the right, by braiding together three crocheted strands of Wheel & Sprocket 8/06 Beads, some black seed beads, and Black 20 gauge Darice Craft Wire.
When you crochet with wire, make sure your wire is pliable and thin enough. Each time that you draw a new loop through, have a larger bead between the existing chain and your crochet hook. Alone, this will create a strand where you only have beads on one of three sides of your chain . . . I recommend having some small beads (seed or slightly larger) that you push onto the newly formed loop before you draw a new loop through. To prepare for this, take your wire (I used 2 2/3 yd per adult necklace strand when doing a 2 strand twisted necklace, you'll need to adjust the length based on how tightly you crochet) and string beads onto it to fill about the length that you want your finished strand to be, and a little extra for good measure! You may want to put on one larger bead with two smaller ones between each large bead . . . or pick a large number of random beads that are all small enough to force onto your loops through the existing chain!
Braiding three crochet strands together allows for more uneven crocheting to be covered up... after you braid, shape your necklace and use your fingers to smoosh any ungainly loops back into the body of the necklace! Enjoy!